- Lightroom Purple Colour Tone Preset Download...
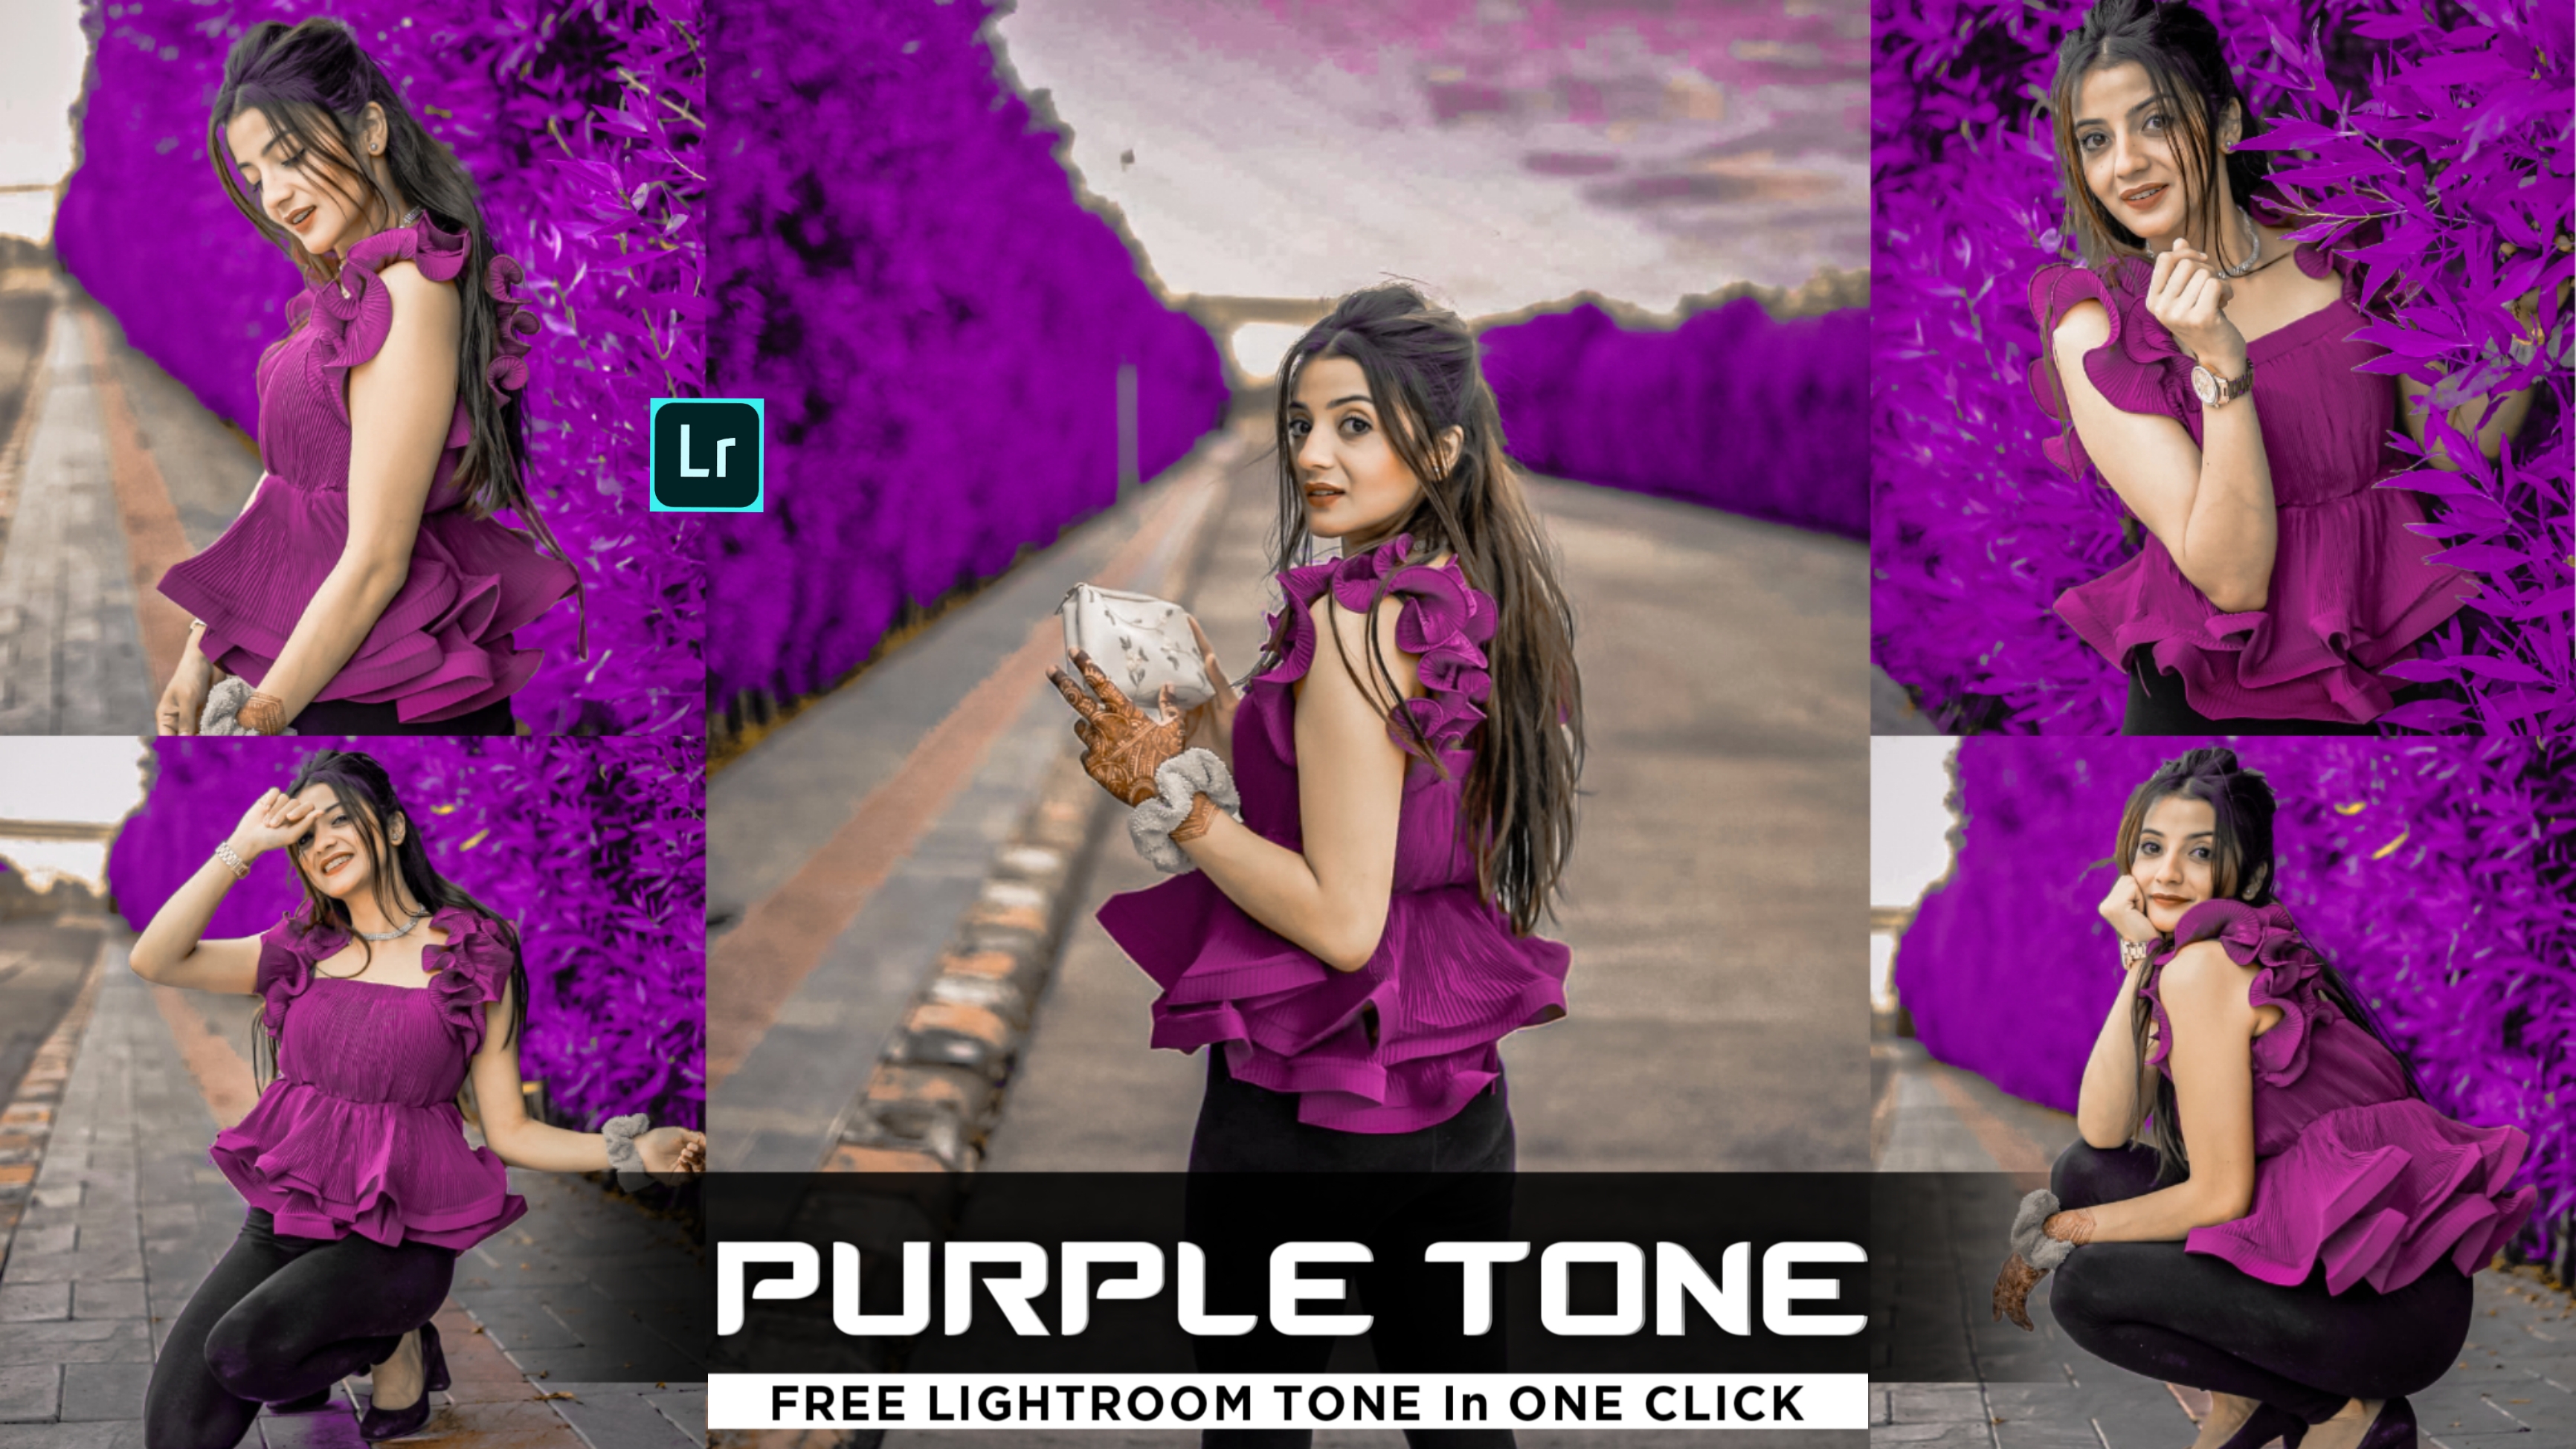
- Purple color tone is a popular choice for photo editing as it can evoke a variety of moods and atmospheres, from dreamy and romantic to mysterious and dramatic. Adobe Lightroom provides powerful tools to achieve this effect with ease. Here's a step-by-step guide on how to edit a photo with a purple color tone in Lightroom:-
1. Import Your Photo: Launch Adobe Lightroom and import the photo you want to edit by clicking on the "Import" button and selecting your image from its location on your computer.
2. Basic Adjustments: Once your photo is imported, navigate to the Develop module by clicking on the Develop tab at the top right corner of the interface. Start by making basic adjustments to enhance the overall look of the image. This includes adjustments to exposure, contrast, highlights, shadows, whites, and blacks to achieve the desired tonal range.
3. White Balance: Adjust the white balance to add warmth or coolness to the image. Since we're aiming for a purple color tone, you may want to slightly cool down the temperature slider to add a bluish tint to the image.
4. HSL/Color: Next, go to the HSL/Color panel. Here, you can adjust the individual hues, saturation, and luminance of specific colors in the image. To create a purple tone, you'll primarily focus on the purple and magenta hues. Increase the saturation of these hues to intensify the purple tones in the image.
5. Split Toning: Split toning allows you to add different colors to the highlights and shadows of the image. To enhance the purple color tone, set the highlights' hue to a shade of purple and adjust the saturation to your preference. Similarly, set the shadows' hue to a complementary color or a deeper shade of purple to add richness to the darker areas of the image.
6. Tone Curve: Fine-tune the tonal range using the Tone Curve panel. Create an S-curve by adding a point in the shadows and dragging it slightly downwards to deepen the shadows, and adding another point in the highlights and dragging it slightly upwards to brighten the highlights. This enhances the contrast and overall richness of the image.
7. Effects Panel: In the Effects panel, you can add vignetting to draw focus to the subject and further enhance the mood of the image. Adjust the amount and midpoint sliders to control the strength and size of the vignette.
8. Graduated Filters and Adjustment Brushes: Use graduated filters and adjustment brushes to selectively apply adjustments to specific areas of the image. For instance, you can add more purple tones to the sky or certain objects by painting over them with the adjustment brush or applying a graduated filter.
9. Fine-Tuning: Take some time to fine-tune your adjustments by comparing the edited image to the original and making any necessary tweaks to achieve the desired purple color tone and overall look.
10. Export: Once you're satisfied with the edits, it's time to export the image. Click on the "Export" button, choose the desired file settings, including format, quality, and size, and click "Export" to save your edited photo.
By following these steps, you can effectively edit your photo with a purple color tone using Adobe Lightroom. Experiment with different adjustments and settings to achieve the perfect look for your image.

- Lightroom mobile presets ka istemal karna photo editing ko bahut hi aasan bana deta hai. Niche diye gaye steps follow karein:
- Lightroom Mobile App Open kare: Apne mobile device mein Lightroom mobile app ko open karein.
- Photo Import kare: Photo edit karne ke liye, Lightroom app mein photo ko import karein. Iske liye, "+" icon par tap karein aur phir "Add Photos" select karein, ya phir direct gallery se photo select karein.
- Edit Panel Open kare: Photo select karne ke baad, bottom panel mein Edit icon (jaise pencil ya sliders ka icon) par tap karein.
- Presets Panel Open kare: Edit panel mein, top-right corner mein ek three-dot menu hoga. Us par tap karein aur "Presets" option ko select karein.
- Presets ko Browse karein: Ab aapke samne presets ka collection hoga. Aap presets ko scroll karke browse kar sakte hain aur jis preset ko apply karna chahte hain, us par tap karein.
- Presets Apply karein: Jab aap preset par tap karte hain, to wo automatically aapke photo par apply ho jayega. Aap dekhenge ki aapka photo preset ke according change ho jayega.
- Adjustments karein (optional): Agar aapko preset ke baad bhi kuch adjustments karna hai, to aap editing tools ka istemal karke further adjustments kar sakte hain.
- Save karein aur Share karein: Jab aap satisfied ho jaayein apne editing se, to "Done" ya "Save" button par tap karein. Phir aap photo ko apne gallery mein save kar sakte hain ya direct social media platforms par share kar sakte hain.
Is tarah se aap presets ka istemal karke Lightroom mobile app mein aasani se photo edit kar sakte hain...Killer Editing


- Lightroom next level colourful preset download Videos...💖
Comments
Post a Comment