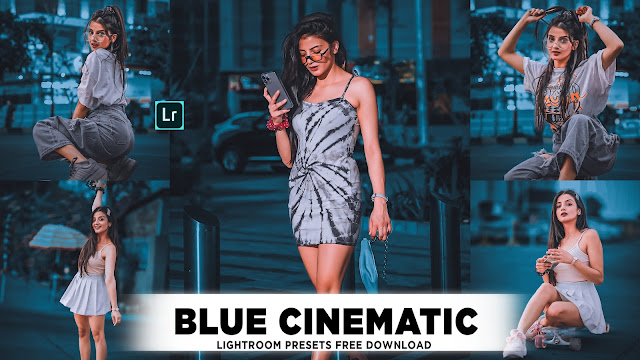
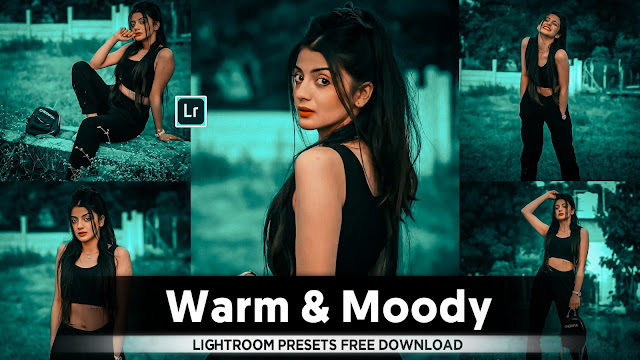
- Lightroom Black And Red Colour Tone Photo Editing - Lr Preset Download...
* Black and Red Effect Photo Editing Tutorial in Lightroom Mobile.
• The black and red effect is a popular editing technique used to create dramatic and visually striking photos. By emphasizing the contrast between black and red tones, you can add depth and intensity to your images. In this tutorial, we'll explore how to achieve this effect using Adobe Lightroom, a powerful photo editing software.
Step 1: Import Your Image
To begin, launch Adobe Lightroom and import the image you want to edit. You can do this by clicking on the "Import" button and selecting your desired image from your computer or external drive.
Step 2: Basic Adjustments
Once your image is imported, navigate to the "Develop" module in Lightroom. Here, you'll find a range of editing tools to adjust various aspects of your photo. Start by making basic adjustments to enhance the overall look of your image.
1. Exposure: Adjust the exposure slider to ensure that your image is neither too bright nor too dark.
2. Contrast: Increase the contrast to make the dark areas darker and the light areas lighter, enhancing overall definition.
3. Highlights and Shadows: Fine-tune the highlights and shadows to recover details in overexposed or underexposed areas of the image.
4. Whites and Blacks: Set the white and black points to add more depth to the shadows and highlights.
Step 3: Convert to Black and White
To create a black and red effect, we'll start by converting the image to black and white. While this may seem counterintuitive, converting to black and white allows us to focus solely on the tonal values of the image, which we'll later manipulate to achieve the desired effect.
1. In the Basic panel, locate the "Black & White" button and click on it to convert your image to black and white.
2. Alternatively, you can use the HSL/Color panel to desaturate specific colors individually, but for simplicity, we'll use the black and white conversion method.
Step 4: Adjust Tonal Values
With your image now in black and white, it's time to fine-tune the tonal values to prepare for the addition of red tones.
1. Clarity: Increase the clarity slider slightly to enhance mid-tone contrast and add more definition to textures.
2. Texture: Adjust the texture slider to further enhance the details in your image, particularly in areas with pronounced textures.
3. Vibrance: Increase the vibrance slightly to boost the intensity of the remaining colors in the image, excluding red.
Step 5: Adding Red Tones
Now comes the fun part – adding red tones to your black and white image to create the signature black and red effect.
1. Navigate to the Split Toning panel, located in the Develop module.
2. Adjust the Hue and Saturation sliders for both the Highlights and Shadows to introduce red tones into your image.
3. Experiment with different combinations of Hue and Saturation until you achieve the desired intensity and color balance.
Step 6: Fine-Tuning
With the red tones added, take some time to fine-tune your image to perfection.
1. Temperature and Tint: Adjust the temperature and tint sliders to fine-tune the overall color balance of your image. This step is crucial for achieving the right balance between the black, white, and red tones.
2. Graduated Filters and Adjustment Brushes: Use graduated filters and adjustment brushes to selectively enhance or darken specific areas of your image. This allows you to further emphasize certain elements and add depth to your composition.
Step 7: Final Touches
Once you're satisfied with the overall look of your image, it's time to apply some final touches to polish it off.
1. Sharpening: Apply sharpening to enhance the details in your image, particularly in areas with fine textures.
2. Noise Reduction: If necessary, apply noise reduction to reduce any digital noise present in your image, especially in areas with smooth gradients.
3. Vignetting: Consider adding a subtle vignette to draw the viewer's attention towards the center of the image and create a more immersive look.
• Conclusion
Congratulations! You've successfully created a stunning black and red effect in Adobe Lightroom. By following these steps and experimenting with different settings, you can create captivating images that demand attention and leave a lasting impression on your audience. So go ahead, unleash your creativity, and see where your imagination takes you!
• Dark black and red tones in a photo can create a dramatic and moody effect. Here are some steps you can follow to achieve this edit:
1. Choose the Right Photo: Start with a photo that has good contrast and lighting. Images with strong shadows and highlights work well for this edit.
2. Adjust Contrast and Exposure: Use editing software like Adobe Photoshop or Lightroom to adjust the contrast and exposure of the photo. Increase the contrast to make the dark areas darker and the bright areas brighter.
3. Tweak the Blacks: Increase the black levels to deepen the shadows and create a darker overall look. This can be done using the black slider in Lightroom or the Levels adjustment in Photoshop.
4. Apply a Red Tint: Use a color balance or hue/saturation adjustment layer to add a red tint to the photo. Increase the red saturation and adjust the hue to get the desired shade of red.
5. Fine-Tune Colors: Experiment with other color adjustments like split toning or selective color to further enhance the red and black tones in the photo.
6. Final Touches: Make any final adjustments to brightness, contrast, and saturation to fine-tune the overall look of the image.
7. Save Your Edit: Once you're happy with the result, save your edited photo.
Remember to experiment with different settings and adjustments to achieve the specific look you want for your photo.
- Lightroom mobile presets ka istemal karna photo editing ko bahut hi aasan bana deta hai. Niche diye gaye steps follow karein:
- Lightroom Mobile App Open kare: Apne mobile device mein Lightroom mobile app ko open karein.
- Photo Import kare: Photo edit karne ke liye, Lightroom app mein photo ko import karein. Iske liye, "+" icon par tap karein aur phir "Add Photos" select karein, ya phir direct gallery se photo select karein.
- Edit Panel Open kare: Photo select karne ke baad, bottom panel mein Edit icon (jaise pencil ya sliders ka icon) par tap karein.
- Presets Panel Open kare: Edit panel mein, top-right corner mein ek three-dot menu hoga. Us par tap karein aur "Presets" option ko select karein.
- Presets ko Browse karein: Ab aapke samne presets ka collection hoga. Aap presets ko scroll karke browse kar sakte hain aur jis preset ko apply karna chahte hain, us par tap karein.
- Presets Apply karein: Jab aap preset par tap karte hain, to wo automatically aapke photo par apply ho jayega. Aap dekhenge ki aapka photo preset ke according change ho jayega.
- Adjustments karein (optional): Agar aapko preset ke baad bhi kuch adjustments karna hai, to aap editing tools ka istemal karke further adjustments kar sakte hain.
- Save karein aur Share karein: Jab aap satisfied ho jaayein apne editing se, to "Done" ya "Save" button par tap karein. Phir aap photo ko apne gallery mein save kar sakte hain ya direct social media platforms par share kar sakte hain.
Is tarah se aap presets ka istemal karke Lightroom mobile app mein aasani se photo edit kar sakte hain...Killer Editing
- Lightroom next level colourful preset download Videos...💖


Comments
Post a Comment