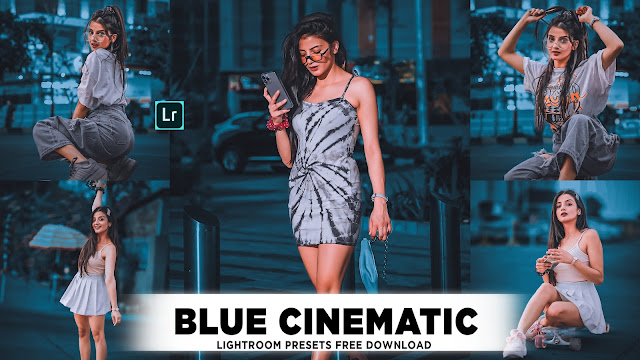
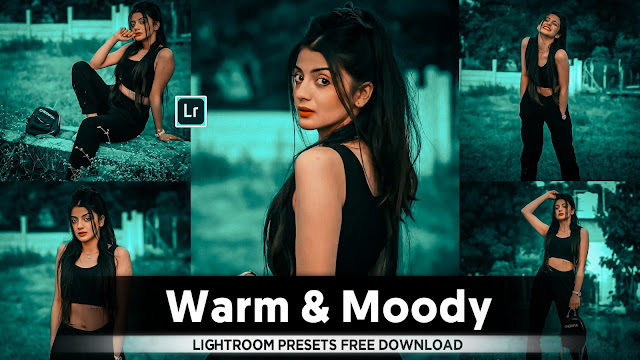
- Lightroom Green Portrait Colour Tone Presets
• how to edit a portrait with a green color tone in Adobe Lightroom:
* Step-by-Step Guide to Editing a Green-Toned Portrait in Adobe Lightroom
1. Import Your Photo
- Open Lightroom: Launch Adobe Lightroom and switch to the Library module.
- Import: Click on the "Import" button in the lower-left corner.
- Select Source: Choose the folder containing your portrait photo.
- Import Settings: Ensure that the appropriate settings are chosen and click "Import" to bring your photo into the Lightroom catalog.
2. Basic Adjustments
- Develop Module: Switch to the Develop module to start editing your photo.
- Crop and Straighten: If necessary, use the Crop Overlay tool (press 'R') to adjust the composition and straighten your portrait.
3. Adjusting Exposure and Contrast
- Exposure: Adjust the Exposure slider to correct the overall brightness of the image.
- Contrast: Increase or decrease the Contrast slider to enhance the difference between the light and dark areas of the portrait.
- Highlights and Shadows: Fine-tune the Highlights to recover details in the bright areas and Shadows to reveal more details in the dark areas.
- Whites and Blacks: Adjust the Whites and Blacks sliders to set the white and black points in your image for better tonal range.
4. Color Correction
- White Balance: Use the Temperature and Tint sliders to correct any color casts. For a green tone, you may want to shift the Tint slightly towards Magenta.
- HSL/Color Panel: Go to the HSL/Color panel to make more specific color adjustments.
- Hue: Adjust the Hue sliders to shift colors. For a green tone, you may adjust the Greens and Yellows sliders.
- Saturation: Increase the Saturation of the Greens and Yellows to emphasize the green tone.
- Luminance: Adjust the Luminance sliders to brighten or darken specific colors.
5. Applying Color Grading
- Color Grading Panel: Access the Color Grading panel to apply a color tone to your shadows, midtones, and highlights.
- Shadows: Apply a subtle green tint to the shadows for a unified green tone.
- Midtones: Add more green to the midtones for a consistent look throughout the portrait.
- Highlights: You may choose to apply a lighter green or leave highlights as they are, depending on your desired effect.
6. Enhancing the Green Tone
- Adjustment Brush: Use the Adjustment Brush tool to selectively enhance the green tone.
- Select the Brush: Choose the Adjustment Brush tool and set the color balance towards green.
- Paint: Apply the brush to areas of the portrait where you want to enhance the green tone.
- Refine: Adjust the settings of the brush (Exposure, Contrast, etc.) as needed.
7. Final Touches
- Detail Panel: Sharpen your image and reduce noise if necessary.
- Lens Corrections: Apply lens corrections to fix any distortion or chromatic aberration.
- Effects: Add a subtle vignette if desired to focus attention on the portrait.
8. Exporting the Edited Photo
- Export Settings: Go to the Library module and select your edited photo.
- Export: Click on the "Export" button.
- File Format: Choose the desired file format (JPEG, TIFF, etc.).
- Settings: Adjust the resolution, file size, and other settings as needed.
- Destination: Choose the location to save your exported file.
* Additional Tips
- Use Presets: Consider using or creating Lightroom presets for a quicker way to achieve a green-toned look.
- Calibration: Explore the Calibration panel for further color adjustments and fine-tuning.
- Experiment: Feel free to experiment with different settings and tools to achieve the exact green tone you desire.
By following these detailed steps, you should be able to achieve a beautifully edited portrait with a green color tone in Adobe Lightroom.
- Lightroom ko pehli baar open karne ke liye, aapko ye steps follow karne honge:-
1. Software Download aur Install Karna: Agar aapne abhi tak Lightroom download aur install nahi kiya hai, to Adobe ki official website se Lightroom ka latest version download karein aur install karen.
2. Lightroom Launch Karna: Install hone ke baad, Lightroom application ko apne computer ya device par open karen.
3. Sign In or Create Adobe Account: Lightroom ko use karne ke liye aapko Adobe ID se sign in karna padega. Agar aapke paas Adobe ID nahi hai, to aap naya account create kar sakte hain.
4. Catalog Creation: Lightroom aapko ek catalog create karne ke liye kahega. Catalog ek database hota hai jahan aapki photos aur unki settings save hoti hain. Aap ek naya catalog bana sakte hain ya existing catalog choose kar sakte hain.
5. Photos Import Karna: Catalog banane ke baad, aap photos import kar sakte hain. 'Import' button par click karke, apne computer ya camera se photos select karen aur import process complete karen.
6. Basic Settings: Import ke baad, aap basic settings jaise photo organization, metadata, aur initial adjustments kar sakte hain.
7. Editing aur Organizing: Ab aap Lightroom ke various modules (Library, Develop, etc.) ka use karke apni photos ko organize aur edit kar sakte hain.
In steps ko follow karke aap Lightroom ko successfully set up kar sakte hain aur apni photo editing journey shuru kar sakte hain.
- Lightroom Presets Ko Kaise Use kare....
Lightroom mobile presets ka istemal karna photo editing ko bahut hi aasan bana deta hai. Niche diye gaye steps follow karein:
- Lightroom Mobile App Open kare: Apne mobile device mein Lightroom mobile app ko open karein.
- Photo Import kare: Photo edit karne ke liye, Lightroom app mein photo ko import karein. Iske liye, "+" icon par tap karein aur phir "Add Photos" select karein, ya phir direct gallery se photo select karein.
- Edit Panel Open kare: Photo select karne ke baad, bottom panel mein Edit icon (jaise pencil ya sliders ka icon) par tap karein.
- Presets Panel Open kare: Edit panel mein, top-right corner mein ek three-dot menu hoga. Us par tap karein aur "Presets" option ko select karein.
- Presets ko Browse karein: Ab aapke samne presets ka collection hoga. Aap presets ko scroll karke browse kar sakte hain aur jis preset ko apply karna chahte hain, us par tap karein.
- Presets Apply karein: Jab aap preset par tap karte hain, to wo automatically aapke photo par apply ho jayega. Aap dekhenge ki aapka photo preset ke according change ho jayega.
- Adjustments karein (optional): Agar aapko preset ke baad bhi kuch adjustments karna hai, to aap editing tools ka istemal karke further adjustments kar sakte hain.
- Save karein aur Share karein: Jab aap satisfied ho jaayein apne editing se, to "Done" ya "Save" button par tap karein. Phir aap photo ko apne gallery mein save kar sakte hain ya direct social media platforms par share kar sakte hain.
Is tarah se aap presets ka istemal karke Lightroom mobile app mein aasani se photo edit kar sakte hain...Killer Editing


Comments
Post a Comment