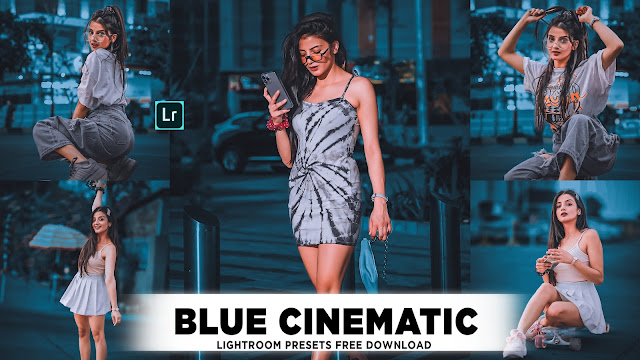
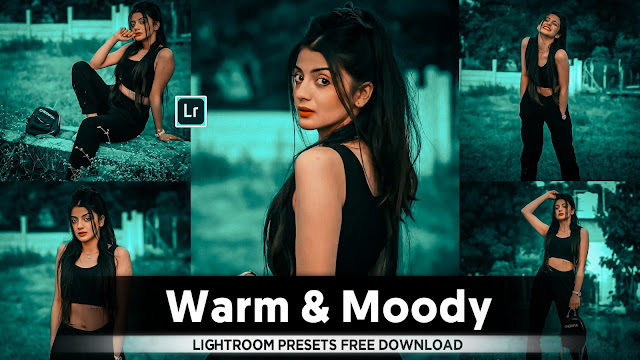
- Lightroom Grey And Orange Colour Tone Presets
• Grey and orange color tone photo editing is a popular technique in Lightroom that creates a modern and aesthetic look for your photos. Below, I’ll provide step-by-step instructions to achieve this look, including how to create a preset and apply it to your photos.
---
Part 1: Preparing for Editing
Before diving into the editing process, ensure you have:
- Adobe Lightroom installed (Classic, Mobile, or CC version).
- A photo with good contrast and details to edit.
- A basic understanding of Lightroom’s interface.
---
Part 2: Editing for Grey and Orange Tone
1. Open Lightroom and Import Your Photo
- Launch Lightroom and go to the Library module.
- Click on Import at the bottom-left corner and select the photo you want to edit.
- Click Develop to open the editing panel.
2. Adjust Basic Settings
Navigate to the Basic Panel:
- Exposure: Adjust to make the image slightly brighter or darker, depending on your photo.
- Contrast: Increase slightly to add depth.
- Highlights: Lower to bring out details in bright areas.
- Shadows: Increase to recover details in darker areas.
- Whites: Adjust to balance the overall brightness.
- Blacks: Reduce slightly to add contrast.
3. Tone Curve
Go to the Tone Curve panel:
- Create an S-curve for a balanced contrast.
- Drag the highlights and lights upwards.
- Slightly lower the shadows and darks.
4. HSL/Color Panel
This is where the magic of orange and grey tones happens:
- Hue:
- Red: Shift slightly toward orange.
- Orange: Keep as is or shift toward red.
- Yellow: Shift toward orange for a warmer look.
- Green: Shift toward teal for a subtle grey tone.
- Blue, Purple, and Magenta: Shift toward teal or grey tones.
- Saturation:
- Reduce saturation of blue, green, purple, and magenta for a desaturated (grey) look.
- Increase orange and red saturation slightly to make them pop.
- Luminance:
- Increase orange luminance for a glowing effect on skin tones.
- Decrease blue luminance for a darker sky or background.
5. Split Toning (Color Grading)
Go to the Color Grading panel:
- Highlights: Add a soft orange tone (hue around 30–40, saturation 10–20).
- Shadows: Add a teal or grey tone (hue around 210–230, saturation 5–15).
- Midtones: Fine-tune for balance if necessary.
6. Detail Panel
- Sharpening: Increase slightly for more clarity.
- Noise Reduction: Adjust to reduce graininess, especially in shadows.
7. Effects Panel
- Add a slight vignette to draw focus to the center.
- Use Dehaze to enhance clarity and contrast.
---
Part 3: Saving and Applying the Preset
1. Create a Preset
- After completing the edits, go to the left panel in the Develop module.
- Click on the + icon in the Presets section and choose Create Preset.
- Name the preset (e.g., "Grey and Orange Tone").
- Check all the boxes related to the adjustments you made (e.g., Basic, Tone Curve, HSL, Color Grading, etc.).
- Click Save.
2. Apply the Preset to Other Photos
- Go to the Library module and select the photos you want to edit.
- In the Develop module, click on the preset you created in the Presets section.
- Adjust minor settings like Exposure or Crop to customize for each photo.
---
* Conclusion
Editing for grey and orange tones in Lightroom is a straightforward process when broken into steps. By creating and saving a preset, you can easily apply this aesthetic to multiple photos, ensuring a consistent look across your projects. Using presets also saves time and enhances productivity.
Let me know if you'd like more detailed explanations or tips for specific adjustments!
• The grey and orange effect (often called the "Teal and Orange" effect with muted grey tones) is a popular editing style in Lightroom. Here's how you can achieve it in a few simple steps:-
1. Basic Adjustments
- Exposure: Adjust to ensure your photo is well-lit.
- Contrast: Increase slightly to add depth.
- Highlights: Lower to reduce bright spots.
- Shadows: Increase slightly to bring out details.
- Whites: Lower to avoid overexposure.
- Blacks: Decrease slightly for richer blacks.
2. Tone Curve
- Create an S-curve for contrast.
- Lift the shadows slightly for a matte effect.
- Adjust mid-tones for brightness and highlights for subtle pop.
3. HSL/Color Panel
- Hue: Shift oranges slightly toward red and blues toward teal.
- Saturation:
- Desaturate greens, blues, and purples.
- Increase the saturation of oranges.
- Luminance:
- Brighten oranges for skin tones.
- Darken blues for a dramatic sky or background.
4. Split Toning/Color Grading
- Shadows: Add a teal/blue tint.
- Highlights: Add a warm orange tone.
- Adjust balance towards shadows for a cooler feel.
5. Details and Finishing Touches
- Sharpening: Add subtle sharpening for detail.
- Noise Reduction: If needed, reduce noise for a clean look.
- Vignette: Add a slight vignette for focus.
- Clarity: Increase slightly for a crisp feel.
6. Final Adjustments
- Check the overall balance and tweak colors, exposure, or contrast if necessary.
- Export your image in high resolution.
This effect works great for portraits, landscapes, and urban photography.
- Lightroom Presets Ko Kaise Use kare....
Lightroom mobile presets ka istemal karna photo editing ko bahut hi aasan bana deta hai. Niche diye gaye steps follow karein:
- Lightroom Mobile App Open kare: Apne mobile device mein Lightroom mobile app ko open karein.
- Photo Import kare: Photo edit karne ke liye, Lightroom app mein photo ko import karein. Iske liye, "+" icon par tap karein aur phir "Add Photos" select karein, ya phir direct gallery se photo select karein.
- Edit Panel Open kare: Photo select karne ke baad, bottom panel mein Edit icon (jaise pencil ya sliders ka icon) par tap karein.
- Presets Panel Open kare: Edit panel mein, top-right corner mein ek three-dot menu hoga. Us par tap karein aur "Presets" option ko select karein.
- Presets ko Browse karein: Ab aapke samne presets ka collection hoga. Aap presets ko scroll karke browse kar sakte hain aur jis preset ko apply karna chahte hain, us par tap karein.
- Presets Apply karein: Jab aap preset par tap karte hain, to wo automatically aapke photo par apply ho jayega. Aap dekhenge ki aapka photo preset ke according change ho jayega.
- Adjustments karein (optional): Agar aapko preset ke baad bhi kuch adjustments karna hai, to aap editing tools ka istemal karke further adjustments kar sakte hain.
- Save karein aur Share karein: Jab aap satisfied ho jaayein apne editing se, to "Done" ya "Save" button par tap karein. Phir aap photo ko apne gallery mein save kar sakte hain ya direct social media platforms par share kar sakte hain.
Is tarah se aap presets ka istemal karke Lightroom mobile app mein aasani se photo edit kar sakte hain...Killer Editing


Comments
Post a Comment