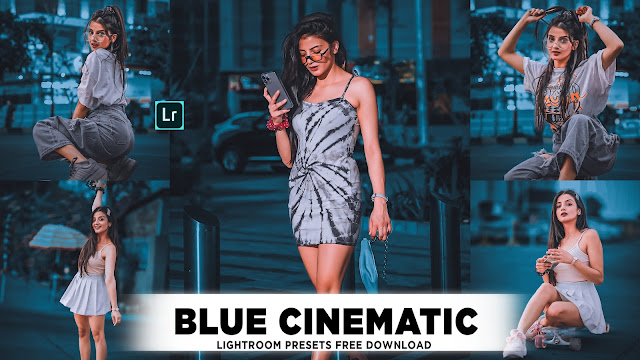
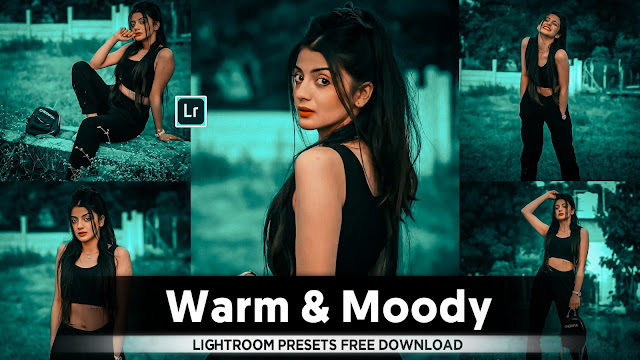
Hypic Ai Biker Photo Editing Prompt...🔥
• Hypic App Se AI Photo Edit Karne Ke Steps
- Hypic ek popular photo editing app hai jo AI-powered tools ke zariye aapko photos ko enhance aur customize karne ka mauka deti hai. Is app ka use karke aap apni photos ko professional aur creative touch de sakte hain. Yahaan hum aapko step-by-step guide denge jo lagbhag har feature ko cover karegi aur aapko detail mein samjhaegi ki Hypic App kaise use karein.
---
1. Hypic App Ko Download Aur Install Karein
Step 1: App Download Karein
- Sabse pehle, apne Android ya iOS device ka Play Store ya Mere diye link se download kare sab main lakh mein video di hai video dekhkar uske discription box ke link se aap download kar sakte hain hypic premium app.
- Search bar mein 'Hypic Photo Editor" likhein aur search karein.
- Hypic app ke official version par click karke 'Install` ka button dabayein.
Step 2: App Open Karein
- Installation complete hone ke baad app ko open karein.
- Aapko sign-in karne ka option milega. Aap apne Google account, Facebook account, ya email ke zariye login kar sakte hain.
---
2. Photo Upload Karein
Step 1: Gallery Se Photo Choose Karein
- Home screen par aapko "Upload Photo" ya "Choose Photo" ka option dikhai dega.
- Is par click karein aur apni gallery access karein.
- Jis photo ko edit karna chahte hain, usse select karein.
Step 2: Camera Use Karein
- Agar aap nayi photo lena chahte hain, to "Take Photo" ka option select karein aur apne phone ke camera ka use karke photo click karein.
---
3. AI Tools Ka Use Karke Photo Enhance Karein
Hypic ke andar kai AI-based tools hain jo aapki photo ko transform kar sakte hain.
* AI Enhancement
1. Auto Enhance:
- "Enhance" button par click karein.
- AI automatically brightness, contrast, sharpness, aur colors ko adjust karega.
- Result real-time mein dekhne ko milega.
2. Portrait Retouching:
- Portrait photos ke liye "AI Retouch" feature ka use karein.
- Wrinkles, blemishes, aur uneven skin tone ko smooth karne ke liye "Skin Smoothing" option select karein.
- Aap manual sliders ke zariye changes ko customize bhi kar sakte hain.
---
4. Background Change Karein
Step 1: Background Removal
- Background ko remove karne ke liye "Background" tool par click karein.
- AI automatic background ko detect karega aur subject ko alag kar dega.
Step 2: New Background Add Karein
- App ke andar pre-loaded backgrounds available hain, jaise nature, cityscapes, aur abstract designs.
- Apne pasand ka background choose karke photo mein apply karein.
---
5. Filters Aur Effects Add Karein
1. Filters Apply Karein.
- Filters ke section mein jaake "Vintage," "Black & White," "Vivid," ya "Cinematic" jaise options ko explore karein.
- Ek filter select karein aur intensity ko adjust karne ke liye slider ka use karein.
2. Special Effects:
- Sparkles, rain effects, aur bokeh add karne ke liye "Effects" section ka use karein.
- Apni photo ke mood ke according effect select karein.
---
6. Text Aur Stickers Add Karein
Text Add Karna
- "Text" option par click karein aur apna custom message likhein.
- Font style, size, aur color ko customize karein.
- Text ko photo ke kisi bhi part par drag and drop karein.
Stickers Add Karein
- Stickers library open karein aur trendy stickers select karein.
- Aap funny, cute, aur theme-based stickers ko explore kar sakte hain.
---
7. Manual Editing Tools Ka Use Karein
1. Crop Aur Rotate:
- Photo ko crop karne ya rotate karne ke liye tools ka use karein.
- Aspect ratio select karein jaise 1:1 (Square), 16:9 (Wide), etc.
2. Brightness Aur Contrast Adjust Karein:
- "Adjust" section mein jaake manual sliders ka use karein.
- Brightness, contrast, saturation, aur sharpness ko adjust karein.
---
8. Makeup Features Ka Use Karein
- Lip Color: Apne lips ke color ko change karne ke liye makeup tool ka use karein.
- Eye Enhancements: Eyes ko enhance karne ke liye eyeliner, mascara, aur eye shadow apply karein.
- Hair Color: AI ka use karke apne hair ka color badlein aur naye looks try karein.
---
9. Templates Ka Use Karein
- Hypic app mein pre-designed templates available hote hain jo aapki photo ko instantly professional banate hain.
- "Templates" section open karein aur apne desired theme ka template choose karein.
---
10. Photo Ko Save Aur Share Karein
1. Save:
- Edited photo ko save karne ke liye "Save" button par click karein.
- Aap apni photo ko high-resolution format mein download kar sakte hain.
2. Share:
- Photo ko directly Instagram, Facebook, WhatsApp, aur other platforms par share karein.
---
° Tips for Better Editing
1. High-quality photos ka use karein taaki results ache aayen.
2. Over-editing se bachein aur natural look maintain karein.
3. Experiment karne se na darein, naye features explore karein.


Comments
Post a Comment