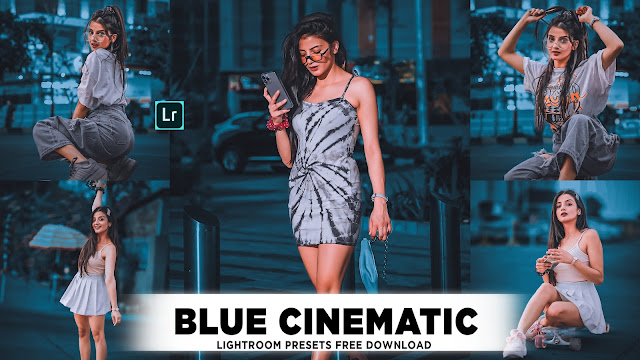
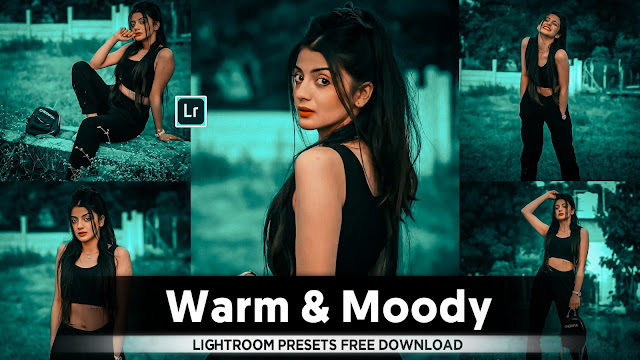
- Lightroom Aqua And Orange Colour Tone Presets
• Editing a photo in Adobe Lightroom to achieve the popular Aqua and Orange color tone requires a detailed understanding of color grading, HSL adjustments, and various other settings. Below, I’ll provide a comprehensive guide on how to achieve this effect step by step.
---
* Aqua and Orange Color Tone Editing in Lightroom – Step-by-Step Guide
The Aqua and Orange color grade is widely used in travel and cinematic photography. It creates a vibrant contrast between blueish-green (aqua) tones and warm orange tones, making images more visually appealing.
Step 1: Import Your Photo
1. Open Adobe Lightroom (Classic or Mobile).
2. Click on Library → Import Photos.
3. Select the image you want to edit and click Import.
4. Switch to the Develop module to start editing.
---
Step 2: Adjust Basic Settings
Before applying color grading, we need to adjust the basic image properties.
1. Exposure – Increase or decrease depending on the brightness of your image.
2. Contrast – Increase slightly to make colors pop.
3. Highlights – Reduce to recover details in bright areas.
4. Shadows – Increase slightly to bring out details in darker areas.
5. Whites – Adjust to ensure the bright areas don’t lose detail.
6. Blacks – Decrease slightly to add depth.
These settings create a balanced base for color grading.
---
Step 3: Adjust White Balance (Temperature & Tint)
1. Go to the Basic Panel.
2. Temperature – Move slightly towards warm (Yellow) for an orange effect.
3. Tint – Adjust slightly towards green to enhance the aqua tone.
* Pro Tip:
If your image already has warm tones, avoid increasing temperature too much.
---
Step 4: Tone Curve Adjustments
The Tone Curve allows for finer control over contrast and color shifts.
* Steps:
1. Open the Tone Curve panel.
2. Click on the Point Curve Mode.
3. Adjust the RGB Curve:
- Create three points on the curve: Shadows, Midtones, and Highlights.
- Slightly lift the shadows for a faded effect.
- Increase highlights for more brightness.
4. Adjust the Red, Green, and Blue curves:
- Red Curve: Lower shadows, raise midtones.
- Blue Curve: Lower highlights, slightly increase shadows (adds a warm orange glow).
- Green Curve: Adjust slightly for a balanced look.
This step is crucial in achieving a cinematic look.
---
Step 5: HSL Adjustments (Hue, Saturation, Luminance)
The HSL Panel is where most of the Aqua and Orange effect is created.
* Hue Adjustments:
- Reds → Shift slightly towards orange.
- Oranges → Shift slightly towards red to enhance skin tones.
- Yellows → Shift towards orange for warmth.
- Greens → Shift towards aqua to match the teal look.
- Aquas → Shift towards blue for a deep teal effect.
- Blues → Shift towards aqua to blend with the teal color.
* Saturation Adjustments:
- Increase orange saturation to enhance skin tones.
- Decrease yellow saturation to avoid an overly warm look.
- Increase aqua and blue saturation to make water and sky stand out.
- Decrease green saturation to remove excess greenery.
* Luminance Adjustments:
- Increase orange luminance to brighten skin tones.
- Decrease blue luminance to create a deep aqua tone.
These adjustments create the signature Aqua & Orange look.
---
Step 6: Split Toning (Color Grading Panel)
The Color Grading Panel enhances the cinematic effect by adding tones to shadows, midtones, and highlights.
1. Open the Color Grading Panel.
2. Adjust Shadows:
- Hue: Around 200-220° (Teal)
- Saturation: Increase slightly to add aqua in dark areas.
3. Adjust Highlights:
- Hue: Around 30-40° (Orange)
- Saturation: Increase slightly for a warm glow.
4. Adjust Midtones (Optional):
- Hue: Adjust between teal or warm tones depending on preference.
- Saturation: Keep subtle.
This step enhances the contrast between warm and cool tones.
---
Step 7: Apply Effects (Texture, Clarity, Dehaze)
1. Texture – Increase slightly to enhance details.
2. Clarity – Increase slightly for depth.
3. Dehaze – Increase if the image looks hazy.
Be careful not to overdo these settings.
---
Step 8: Add a Subtle Vignette
1. Go to the Effects Panel.
2. Adjust Vignette (-10 to -20) for a soft cinematic border.
This effect helps focus attention on the subject.
---
Step 9: Use Calibration for Final Color Adjustments
The Calibration Panel fine-tunes colors.
1. Red Primary:
- Increase hue towards orange.
- Slightly reduce saturation.
2. Green Primary:
- Adjust hue slightly to balance skin tones.
3. Blue Primary:
- Shift hue towards teal.
- Increase saturation for a stronger effect.
This step finalizes the orange and teal color grading.
---
Step 10: Final Touches and Export
1. Review the image for any necessary tweaks.
2. Use Selective Adjustments (Radial Filters, Graduated Filters, or Brushes) if needed.
3. Click File → Export.
4. Choose JPEG (sRGB, High Quality) for sharing.
---
* Before & After Comparison
To see the difference:
1. Click the Before/After (Y key) view.
2. Compare the changes to ensure the desired look is achieved.
---
* Conclusion
By following these 10 steps, you can create the Aqua and Orange look in Lightroom like a pro. This effect is perfect for travel and cinematic photography, enhancing contrast between warm and cool tones.
Would you like a preset for faster edits? Let me know!
- Lightroom Presets Ko Kaise Use kare....
Lightroom mobile presets ka istemal karna photo editing ko bahut hi aasan bana deta hai. Niche diye gaye steps follow karein:
- Lightroom Mobile App Open kare: Apne mobile device mein Lightroom mobile app ko open karein.
- Photo Import kare: Photo edit karne ke liye, Lightroom app mein photo ko import karein. Iske liye, "+" icon par tap karein aur phir "Add Photos" select karein, ya phir direct gallery se photo select karein.
- Edit Panel Open kare: Photo select karne ke baad, bottom panel mein Edit icon (jaise pencil ya sliders ka icon) par tap karein.
- Presets Panel Open kare: Edit panel mein, top-right corner mein ek three-dot menu hoga. Us par tap karein aur "Presets" option ko select karein.
- Presets ko Browse karein: Ab aapke samne presets ka collection hoga. Aap presets ko scroll karke browse kar sakte hain aur jis preset ko apply karna chahte hain, us par tap karein.
- Presets Apply karein: Jab aap preset par tap karte hain, to wo automatically aapke photo par apply ho jayega. Aap dekhenge ki aapka photo preset ke according change ho jayega.
- Adjustments karein (optional): Agar aapko preset ke baad bhi kuch adjustments karna hai, to aap editing tools ka istemal karke further adjustments kar sakte hain.
- Save karein aur Share karein: Jab aap satisfied ho jaayein apne editing se, to "Done" ya "Save" button par tap karein. Phir aap photo ko apne gallery mein save kar sakte hain ya direct social media platforms par share kar sakte hain.
Is tarah se aap presets ka istemal karke Lightroom mobile app mein aasani se photo edit kar sakte hain...Killer Editing


Comments
Post a Comment